Step one
Start With an Image
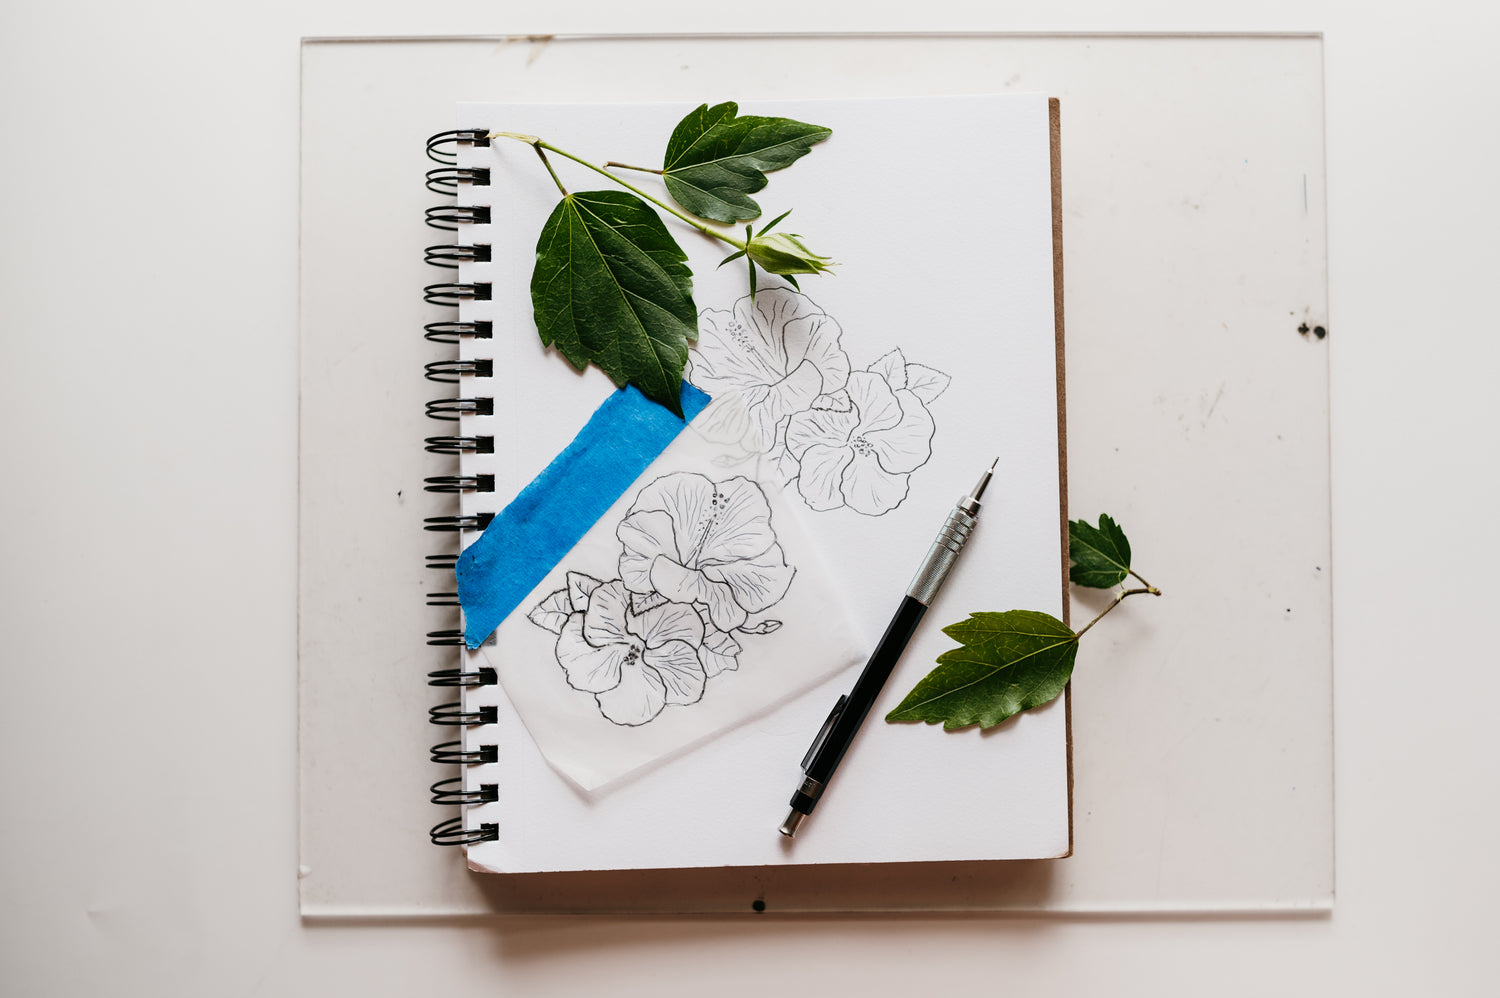
I begin with a photograph or my own drawing. I transfer that image by hand onto tracing paper, giving me a line drawing. This process can take up to 6 hours depending on the complexity of the image.
Step two
Prep the Metal
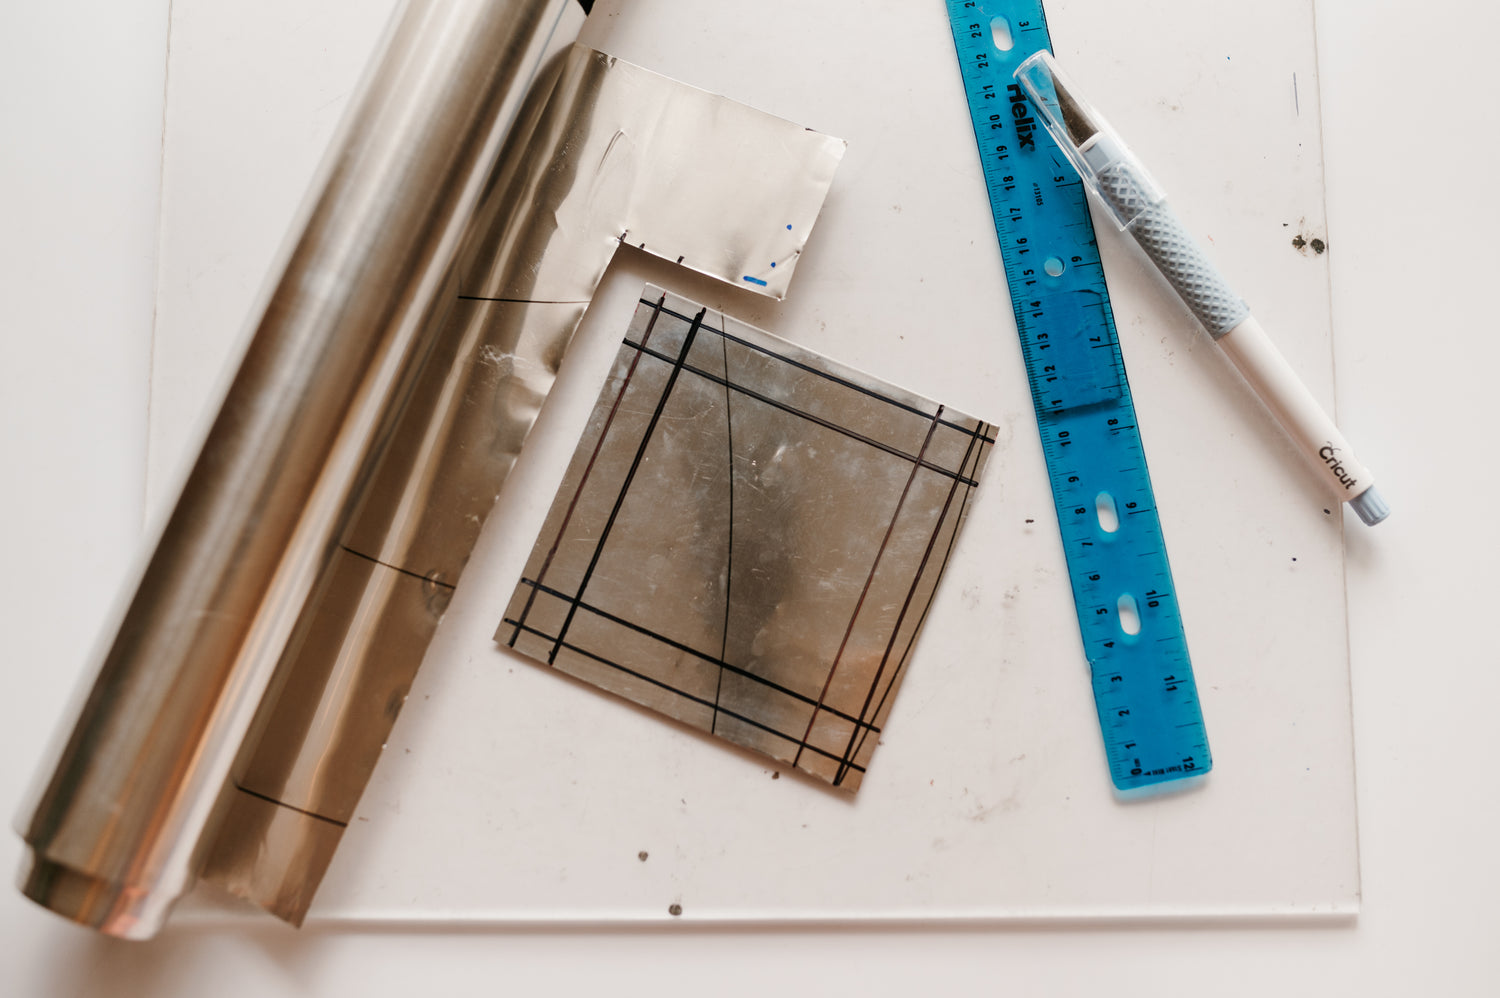
I prepare the metal (a buttery soft Pewter/Tin alloy) by marking the work space and borders of the image.
Step Three
Transfer the Image
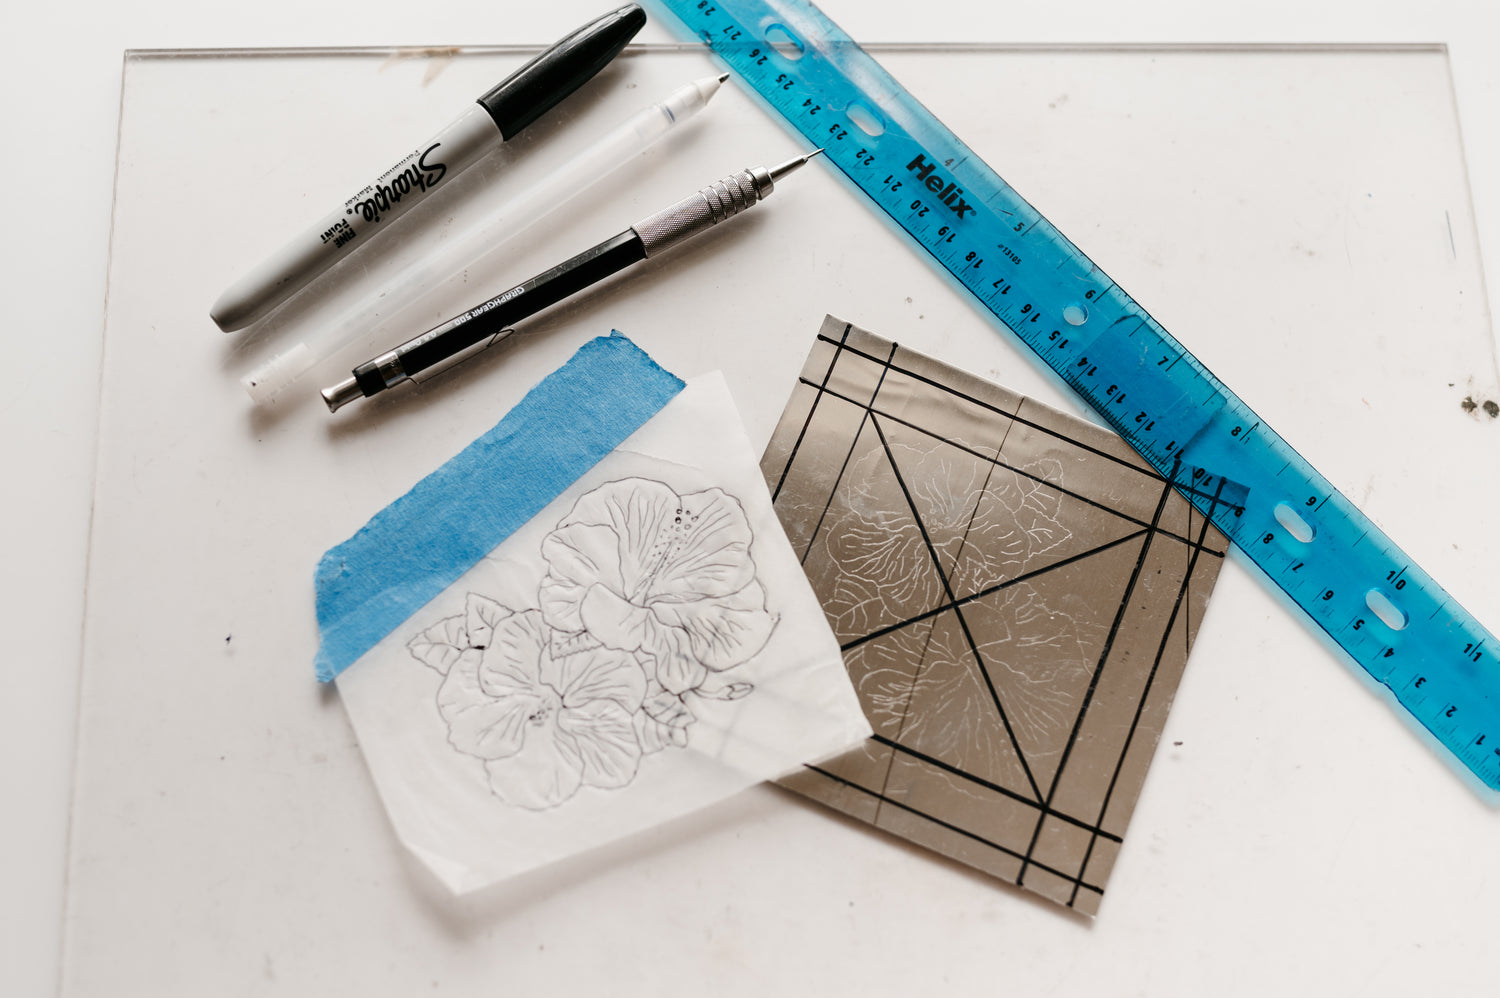
I then transfer the image onto the metal, giving me a reference to work from. I do this by lightly tracing the mirror image of my design on the back of the metal.

Step four
Make Some Magic
Using a variety of tools, I push from the back of the piece and refine from the front to create a three dimensional metal design. This process can take 20+ hours depending on the complexity and size of the design.
Step Five
Make it Last
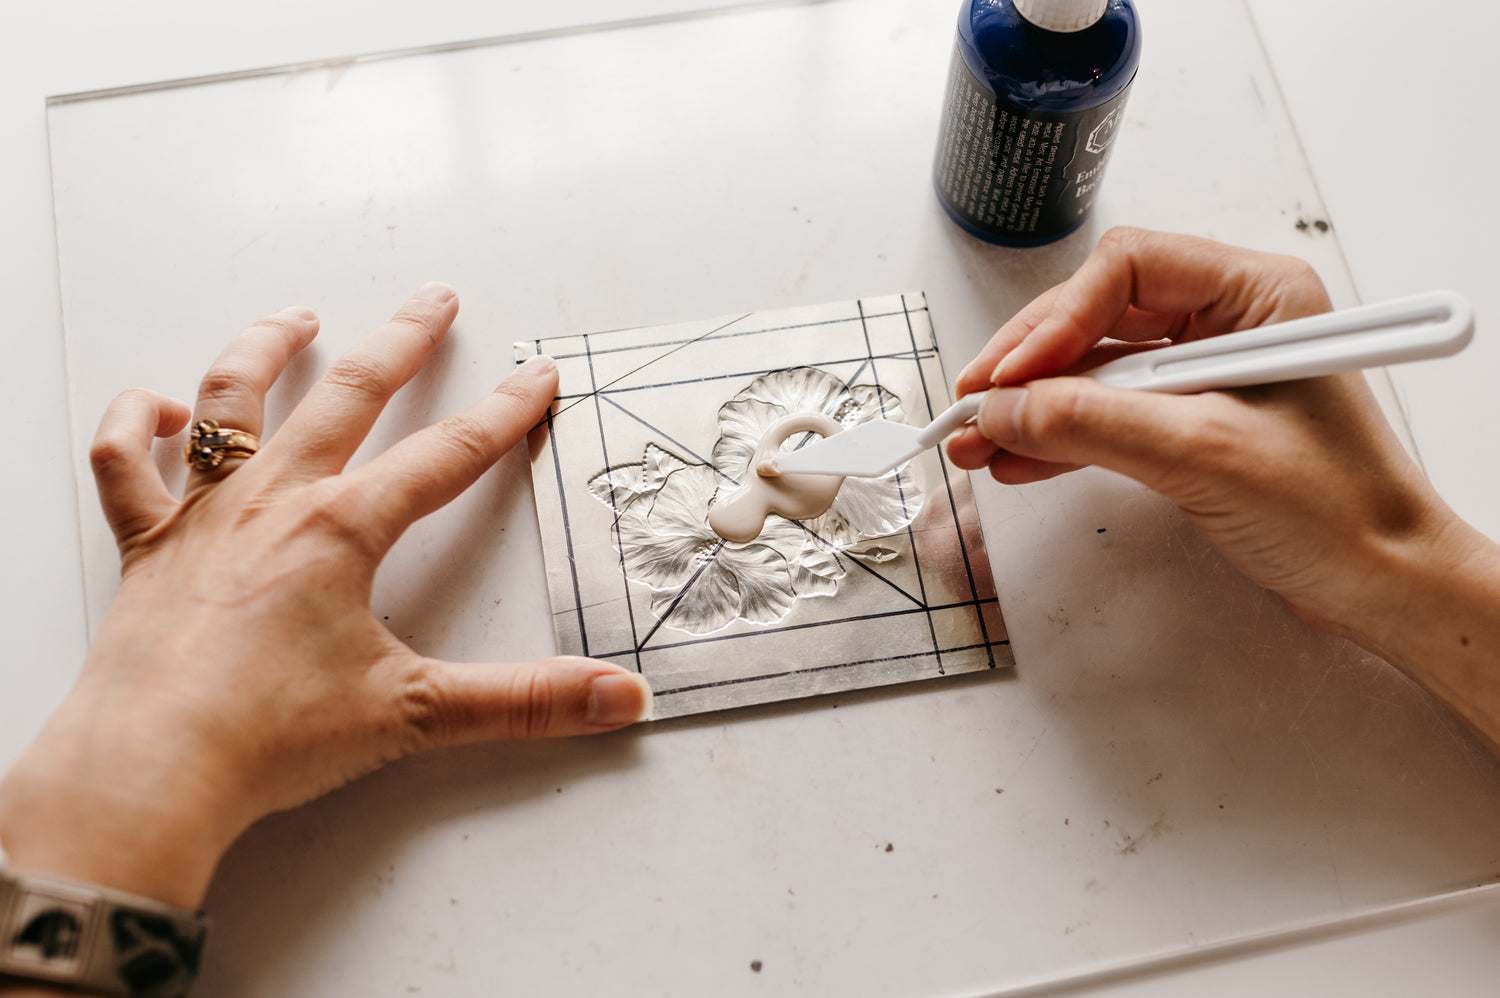
Once all the repousse work is finished, I fill in the back so my hard work won't collapse over time. This is done in two steps to make sure every detail is protected. I let the backing dry and sand down any excess.
Step Six
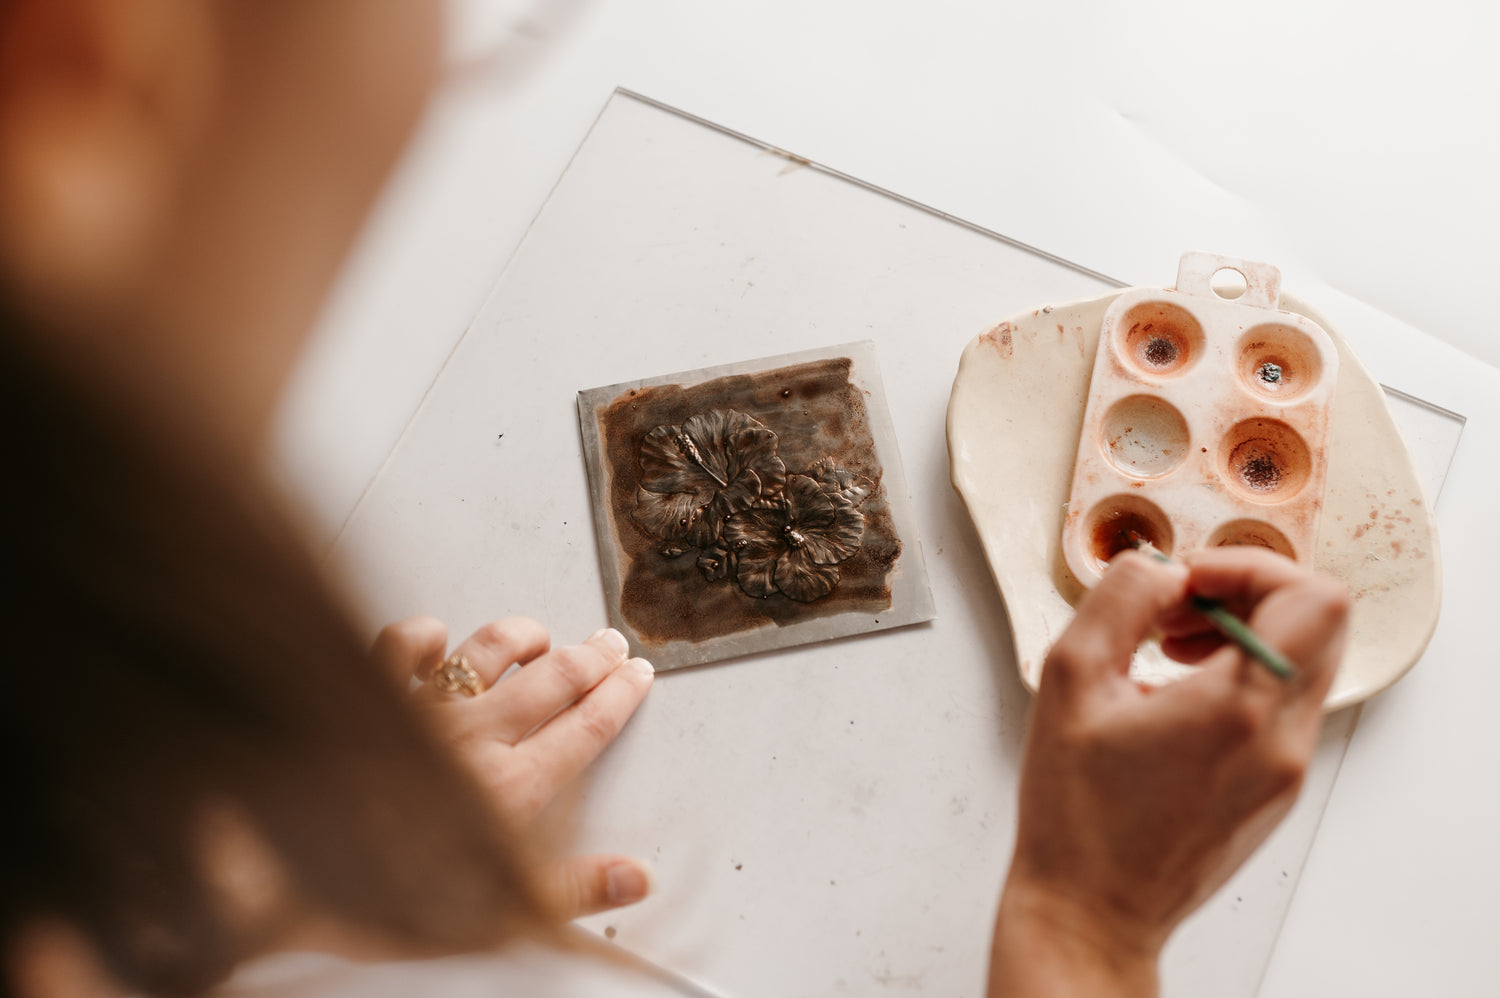
Paint on the Patina
I patina (or color) the piece to make all the details pop.
Step Seven
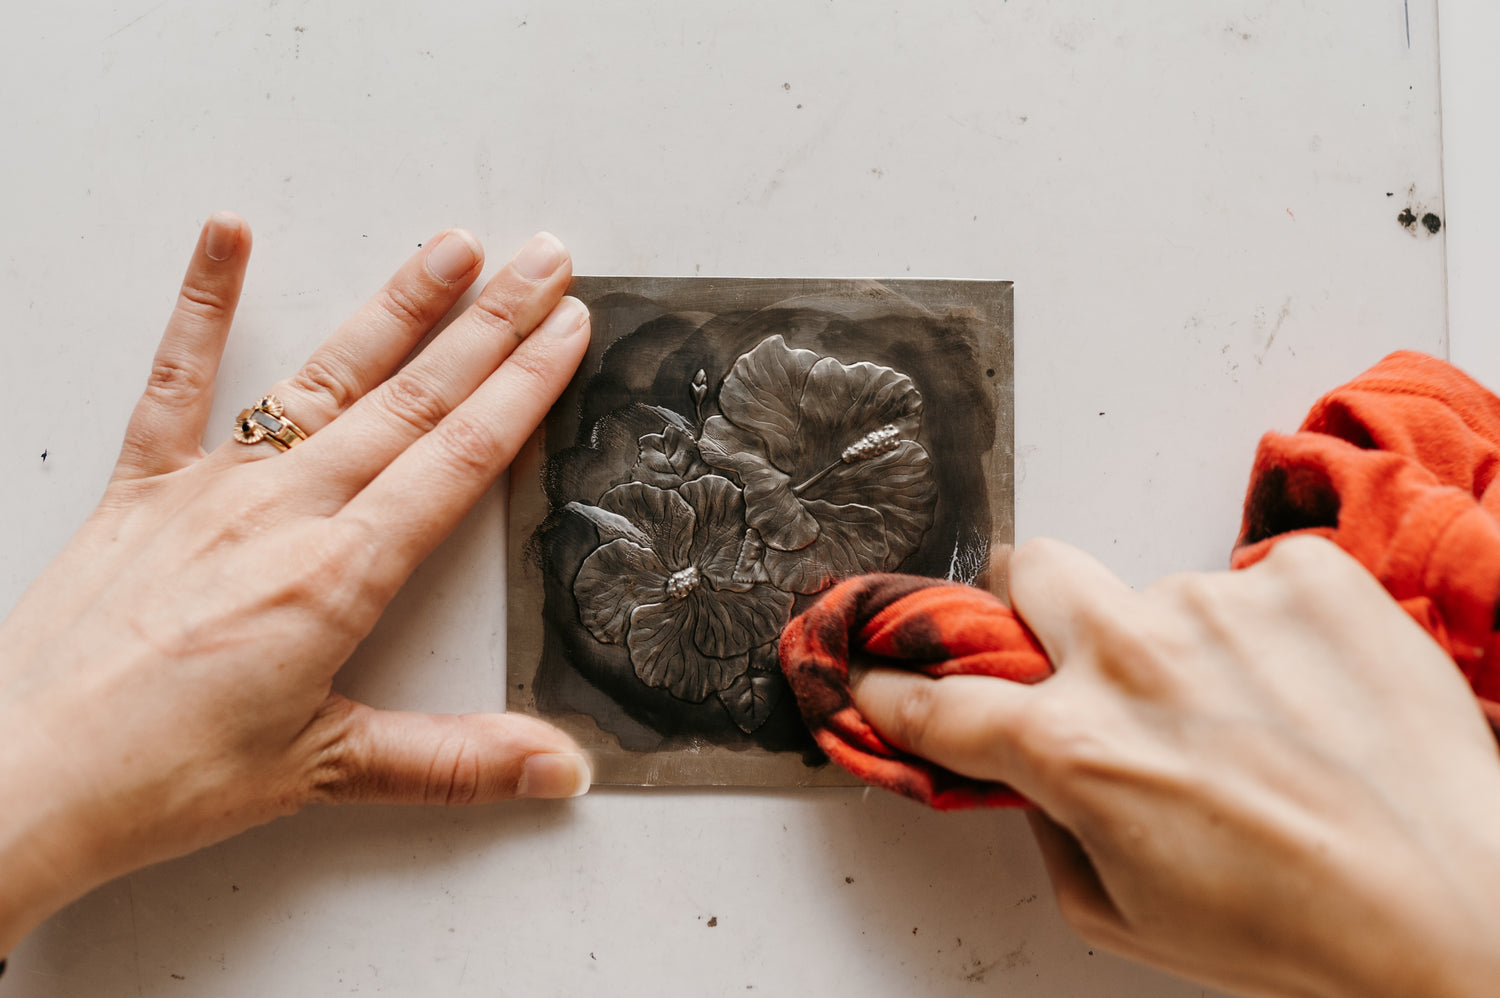
Building Color
Once I start painting the patina on I then have to polishing it off, leaving the deep black color of the patina in any recesses. I usually do this process many times on a piece to create a variety of tones.

Step Eight
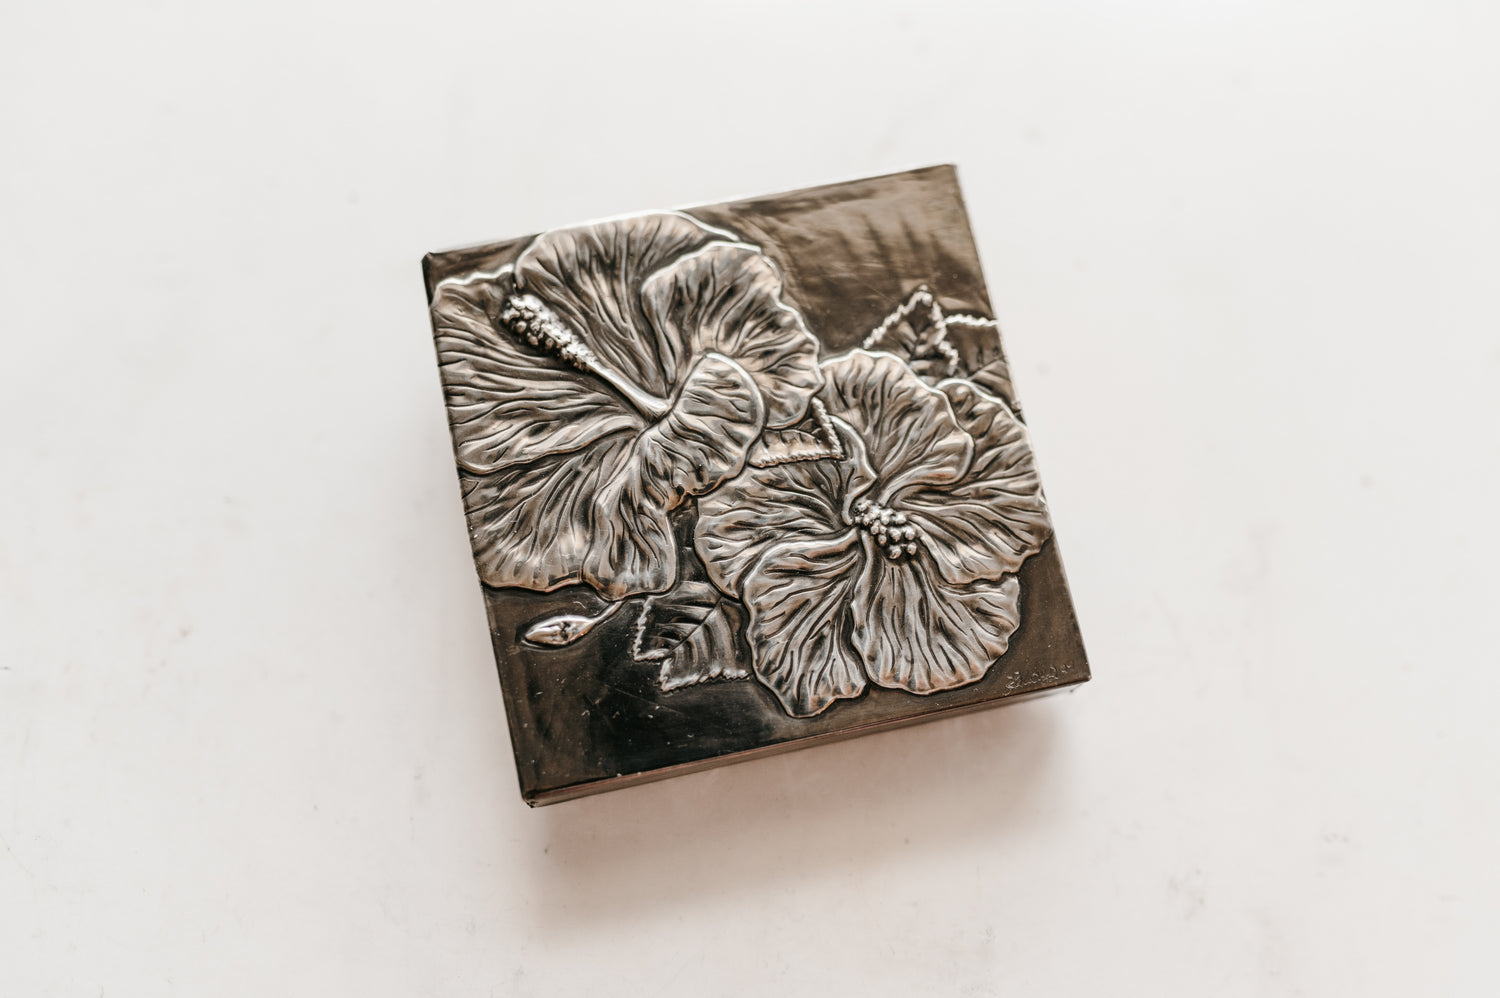
Finish it Up
I then mount the finished product on a piece of wood to create a wall hanging or a table object.